


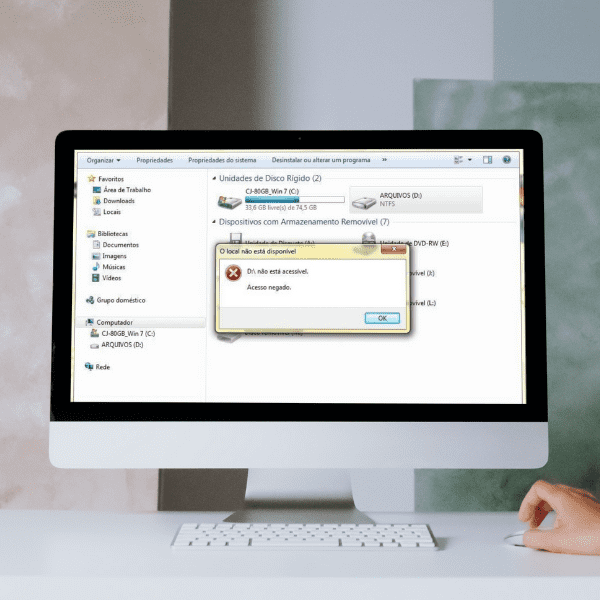
The “access denied” error appears when a hard drive is failing or when the file system of a storage device (an internal or external drive, an SD card or a USB flash drive) becomes RAW. It can also be caused by missing permissions.
Errors like this can have a logical or a physical cause, and repeated repair attempts can make things worse. If the files matter, see how hard drive recovery works, starting with a free diagnosis.
When this happens, Windows can’t reach the data stored on the drive.
In this article, you’ll learn what the error means, what to do about it, how to get permission to open the drive and how to fix the error manually without putting your data at risk.
What is the “access denied” error?
The “access denied” error is related either to permissions or to the file system. It typically shows up when you try to open a file, folder or drive, when your computer fails to start, or when the system can’t open a file over a network or on a website.
What should you do when an external drive says “access denied”?
In many cases, an “access denied” error means your user account doesn’t have permission to access the partition.
If so, you can take ownership of the drive to get that permission back and fix the problem.
How to get permission to access the drive
Follow these steps to give your account permission to access the drive:
- Step 1: Open “This PC”, right-click the drive you can’t access and select “Properties”.
- Step 2: Go to the “Security” tab, click “Edit”, select your user name under “Group or user names”, tick “Full control” under “Allow” and click “Apply” and “OK”.
How to fix the “access denied” problem
To fix the problem, you can:
- Sign in with an account that has administrator rights;
- Fix the errors that cause the access to be denied;
- Review the folder and drive permissions;
- Check your antivirus settings;
- Check whether the files are encrypted.
Recover data from the inaccessible drive
To get your files back without formatting the drive (which would erase everything on it), you have two options:
- Data recovery software: it can work when the drive is physically healthy, but if the drive has bad sectors or other hardware faults, the scan itself can make things worse and lead to permanent data loss;
- A professional data recovery service: the safest option, because specialists assess the drive first and work without causing further damage to it.
If you decide to use data recovery software despite these risks, install it on a different drive from the one you want to recover and follow the steps below:
Step 1: Select and scan the drive
Open the software, select the volume you want to recover files from and start the scan.
Step 2: Browse and preview the files found on the drive
When the scan finishes, look through the files the software has identified as recoverable.
Step 3: Recover the files and save them to another drive
Finally, select the videos, audio files, photos and documents you want to restore and click “Recover” to save them to a different drive from the one you are recovering.
Format the inaccessible drive to reuse it
Only after your data is safe should you format the drive so you can use it again:
- Right-click the inaccessible drive and select “Format”;
- Enter a volume label, choose the file system and click “Start”;
- Finally, click “OK” to confirm. Formatting erases everything on the drive.
How to manually check and fix the “drive not accessible” error
There are a few manual methods for fixing the “drive not accessible” error. Two of the main ones are:
1) Running the CHKDSK command; or
2) Changing the drive letter or formatting the drive.
Keep in mind that formatting erases all the data on the drive, so recover your files before you format. If you have already formatted it and lost important files, you will need a professional data recovery service.
Run CHKDSK to repair the inaccessible drive
CHKDSK is one of the ways to fix the “drive not accessible” error manually. Bear in mind that it writes to the drive: if the drive holds important data or shows signs of physical failure, recover the data first.
To run it, follow these steps:
- Step 1: open “Command Prompt” as administrator and type
chkdsk X: /f; - Step 2: replace “X” with the letter of the inaccessible drive;
- Step 3: press Enter to start the check;
- Step 4: when it finishes, type
exitand press Enter to close the window.
This can repair the file system errors that are preventing you from accessing the drive.
Change the drive letter or format the inaccessible drive
If you need to try this solution, use one of the methods below:
Method 1: in Disk Management, right-click the inaccessible drive, select “Change Drive Letter and Paths…”, click “Change” and assign a new letter, then check whether the drive opens.
If that doesn’t work and your data is already safe, try method 2:
- Right-click “This PC” and select “Manage”;
- Click “Disk Management”, right-click the inaccessible drive and select “Format…”;
- Finally, give the drive a name and confirm. This wipes all the data on it and makes it usable for storing files again.
Read next
Conclusion
The “access denied” error means you can’t access the drive. When the cause is permissions, getting the right permission solves it.
When the cause is a damaged file system and nothing else works, formatting the drive will clear the error, but it also erases your data.
So, if the drive holds valuable data, recover it first. You can use software (with the risk of permanent loss if the drive is failing) or turn to a data recovery specialist, like our team at Bot.
Our experienced specialists work on your drive safely, and our standard diagnosis is free, with a quote within 48 hours.
Our technicians also handle drives and electronic components in our Class 100 (ISO 5) cleanroom, an environment where airborne particles are controlled, so a drive can be opened without contaminating it.
And if you have any questions, you can reach us on our social networks or by phone: we offer 24/7 support.
With more than 200,000 cases resolved, we are ready to help. Start your recovery with us now.


