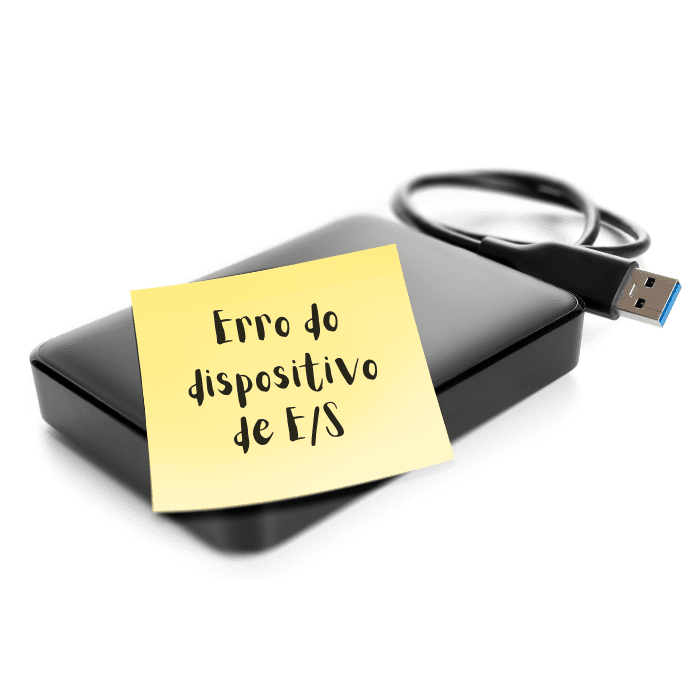
Have you tried to access a drive and encountered an I/O device error? Don’t worry, this is a common problem that can occur on external or internal disks, as well as flash drives, SD cards, CDs and DVDs.
The good news is that the solution is usually simple and can be found quickly. In this article, we will explain what an I/O device error is, what its main symptoms are and how to fix it. Have a good read!
What is an I/O device error?
I/O device error (short for Input/Output) usually occurs when the user tries to read, write or copy data from a device. When this happens, the most common error message is “the request cannot be executed due to an I/O device error”.
However, messages such as “only part of a ReadProcessMemory or WriteProcessMemory request was completed” or “I/O error codes: error 6, error 21, error 103, error 105, error 131” can also appear. In all these cases, you won’t be able to access the files on your device or run a disk check or format.
But what causes this error? Some reasons include connection problems between the drive and your device, outdated drivers, hardware problems, etc.
How do I fix the I/O error?
If the I/O device error occurs when you try to access your external disk or any other disk, then there are a few options to fix it. Below, we have listed these alternatives!
Check all cable connections
Connection problems can be the cause of an I/O device error. So the first step in trying to fix it is to check all the ports and cables. Make sure there isn’t a bad contact or a loose part, for example.
On your own computer, you can try connecting the drive to other ports. Or, if you have another computer available, you can connect the hard disk to that device. There is also the option of changing the USB cable and seeing if the problem is solved.
Update or reinstall the drivers
Another factor that can cause an I/O device error is an outdated driver. Therefore, update or reinstall your computer’s drivers. To do this, you need to connect the disk that’s having problems and go to Device Manager, using the Windows + X shortcut. Then click on “Disk drives”, choose the drive you need to fix and select “Update driver”. If this option appears, also click on “Automatically search for updated driver software”. Then just restart your computer and see if the problem has been solved.
Change the device’s transfer mode
Another situation that causes this type of error is when Windows tries to use a transfer mode that is not supported by the device. In these cases, you need to go to Device Manager and click on “IDE ATA/ATAPI controllers” to display the options. Then just select the drive you want to fix and right-click to access the Properties tab.
In the window, go to Advanced Settings and select PIO in the “Transfer Mode” box that corresponds to the drive. After clicking ok, you can close all the windows and test to see if the problem has been solved.
Use the command prompt
If none of the solutions have worked, you can still try Windows’ own solution with the command prompt. To do this, the first step is to connect the problem drive to your device. Then open the start menu and type in “cmd”. The Command Prompt option will appear and you need to click on “Run as administrator”.
Then type “chkdsk /f /r /x”, without the quotes and with the letter of the drive you want to fix with a colon. For example: chkdsk /f /r /x e:. Press Enter and wait. The system will try to correct the errors and, if all goes well, your drive will be available.
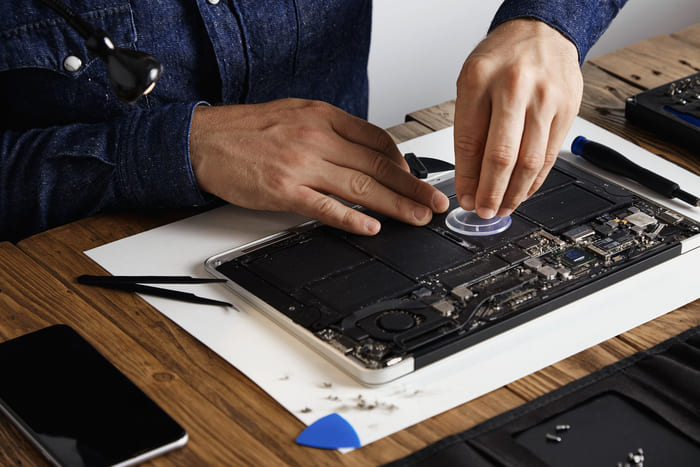
How do I recover data from an I/O device error?
If none of these solutions work, then it’s best not to try any more at home. Ideally, the repair should be done by professionals to avoid even more problems and even the loss of your data.
If the drive is beyond repair, you still have the option of data recovery. You can try the steps below at home, but we recommend that you only opt for this alternative if you already have some computer knowledge. Otherwise, you may end up damaging the drive even more and then ruining the recovery process.
Step 1 – Run the hard disk recovery software
You can recover data from your external disk using specific software, such as the EaseUS Data Recovery Wizard, available free of charge. To do this, you need to run the software, choose the drive with problems and click on “Check”.
Passo 2 – Find data on the hard disk
The files you have found will appear in the tab on the right. There you can also filter the file format you are looking for, for example.
Step 3 – Recover data from hard disk
Once you have found the files you want, you need to select each one, view them and click on “Recover”. Then choose the disk or external drive on which you want to save the data and wait. The system will transfer the files and they will soon be available on the device.
However, these programs – especially the free ones – don’t always work. Furthermore, depending on the amount of information you have saved, it can be very laborious to recover in this way.
Conclusion
For this reason, there are companies specializing in data recovery, such as Bot. Our services are safe and won’t damage the drive. We have thousands of satisfied customers in Portugal and abroad to prove it. Go to our social networks and find out more about our work!