TestDisk is a data recovery software used to recover deleted partitions. It can also be used to make unbootable disks bootable.
However, TestDisk only works in cases of crashed applications, attacks by certain categories of virus, or human error – such as accidentally deleting a partition table, for example.
In this post, we will give you an overview of TestDisk and how to use it to recover your files.

Overview of the TestDisk tool
Starting with its appearance, TestDisk, despite being a great tool for recovering files, has a rather outdated look, with an unfriendly user interface.
It looks a lot like a command prompt window, like MS-DOS.
Despite this, TestDisk is a very useful piece of software for restoring backups, files deleted from FAT systems and more.
The advantages of TestDisk include the fact that it is free, its range of features and the fact that it is a very effective tool.
The big problem is that, in order to work, it needs to be operated by someone with technical knowledge.
How to recover lost partitions with TestDisk
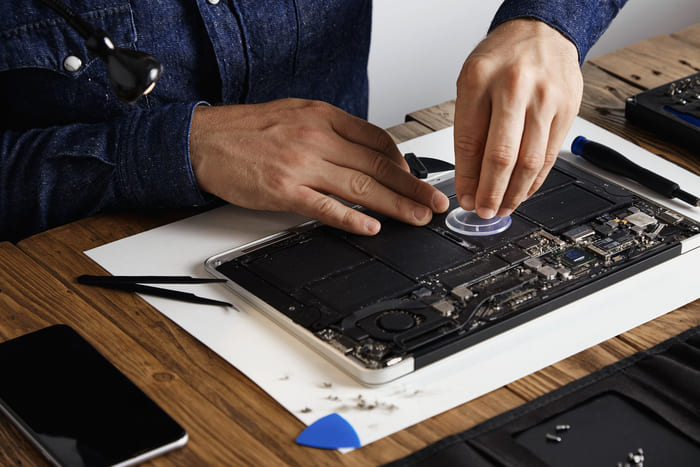
As we mentioned above, if you don’t have the confidence to edit command lines or the technical knowledge to use TestDisk to recover files, it is best to take your device to a data recovery company that can carry out the procedure safely.
This is the most efficient way to recover your data, without making matters worse.
But if you want to give it a try, follow the steps below to recover your files using TestDisk.
Creating a record
- First, open TestDisk on your laptop/computer and press “Enter” as soon as it starts;
- Then select the “[ Create ] Create a new log file” option. TestDisk will then scan the connected hard disks.
Hard disk selection
- The software will then display the scanned hard drives on the screen. Using the arrow keys, select the disk you want to scan, press “Enter” and then select “[>Proceed ]” and again press “Enter”
Select the partition table category
- TestDisk will then ask you to select the type of partition table. Select “[Intel ]” and then press “Enter”.
Search for lost partitions
- A few options will then appear. Using the arrow keys again, select the option “[ Analyse ] Analyse current partition structure and search for lost partitions”;
- Once this is done, select “[Quick Search]” to scan your drive;
- TestDisk will then display a list of all the lost and deleted items it has searched for. Simply go to the folder or file you want to recover and press the “C” key – the command that will copy the file/folder to your computer;
- Finally, choose the destination where you want to save the files recovered by TestDisk. Then start the copying process by selecting “Y”. When the file has finished being copied to the destination you have chosen, the software will display the message “Copy Completed” on the screen.
Conclusion
TestDisk, despite its user-unfriendly appearance, is a useful tool for recovering deleted files, restoring partition tables and much more.
However, one of the software’s disadvantages is that it requires technical knowledge and security when carrying out commands – making it not recommended for laypeople.
So if you need to recover lost files or a deleted partition, but have no experience in using tools like TestDisk, trust professionals to do the recovery.
We at Bot can recover your files safely.
We used a laboratory equipped with clean room – means that your device is examined in a closed environment with total particle control to guarantee the integrity of your laptop/computer.
In addition, you can request free collection of your device from any address in Portugal, so that our team can assess and recover your files within 48 hours – or less, depending on your urgency.
Fill in this form to start recovering your device now!