


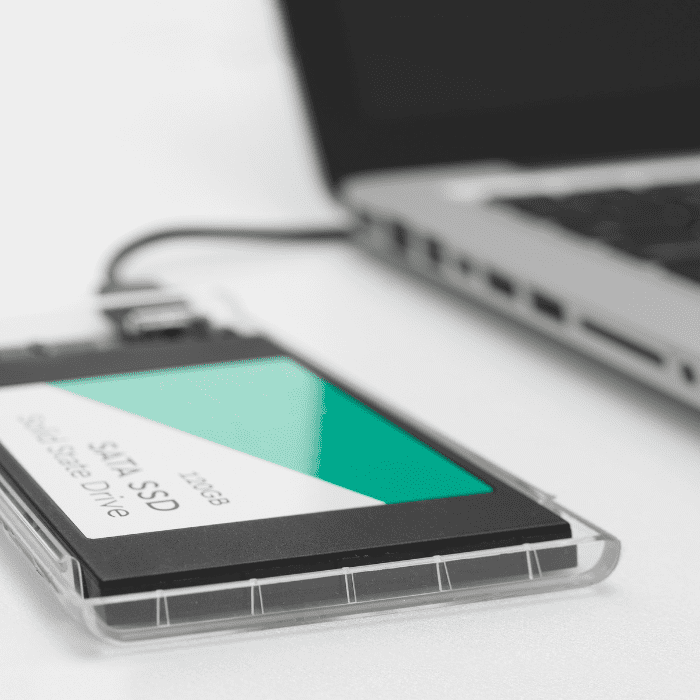
Solid-state drives (SSDs) are much faster and improve system performance. They also tend to be more reliable than conventional hard drives. However, like any other drive, an SSD can show up as unallocated when its partition table is damaged. This damage can have several causes, such as a virus or bad sectors on the drive. As a result, the SSD doesn’t appear in File Explorer, even though you can see it in Disk Management. If you have an unallocated SSD, the tips in this article will help you deal with it.
When an SSD stops responding, the cause is usually in the firmware or the controller, where ordinary software cannot reach. See Bot’s SSD data recovery, which starts with a free diagnosis.
What does “unallocated SSD” mean?
Unallocated space is disk space that doesn’t belong to any partition, logical drive or volume.
If you delete a partition, the space it occupied becomes unallocated. Unallocated space is also often left over after cloning, for example when you clone a smaller SSD to a larger one. Because this space doesn’t belong to any partition, the operating system can’t use it: you can’t read, write or store data in unallocated space. That’s a waste of valuable SSD capacity, which is why many people want to know how to make use of it. To do so, you can create a new partition or extend an existing one, as we’ll see below.
Possible reasons for unallocated space on an SSD
There are several reasons why an SSD can show up as unallocated. The main ones are:
- A virus or malware attack;
- A loose or faulty connection between the drive and the computer;
- A hardware failure;
- A damaged or worn-out drive, among others.
How to use unallocated SSD space on a Windows PC
As mentioned above, to make use of the unallocated space on an SSD, you can either create a new partition or extend an existing one. Here’s how to do both. If the unallocated space appeared on an SSD that used to hold data, don’t use these methods: they write to the drive and can make recovery harder.
1. Create a new partition in the unallocated space
To create a partition, you can use Disk Management, the disk management tool built into Windows. Follow these steps:
- Press Win + R to open the Run dialog box, type “diskmgmt.msc” and click “OK” to open Disk Management.
- Right-click the unallocated space on your SSD, select “New Simple Volume” and follow the wizard to create the new volume.
2. Extend an existing partition into the unallocated space
To add the unallocated space to an existing partition, you can use the “Extend Volume” option in Disk Management.
But bear in mind that unallocated space can only be added to the partition immediately to its left. For example, if the disk has C:, D: and then the unallocated space, in that order, you can only extend D:.
If you try to extend C:, you’ll see that “Extend Volume” is grayed out.
To get around this restriction, you need a third-party partition manager (many have free versions).
How to fix an unallocated SSD
There are two main ways to make an unallocated SSD usable again. Both write to the drive, so use them only if you don’t need the data on it, or after recovering it:
Method 1: Create a volume and assign a drive letter
You can make the SSD usable again by creating a volume and assigning it a drive letter. To do this:
- Type “Computer Management” in the Windows search box and open it;
- In the left-hand pane, expand “Storage”;
- Click “Disk Management” – you’ll see the unallocated drive;
- Right-click the unallocated space and select “New Simple Volume”;
- Click “Next”, then “Next” again after specifying the volume size;
- Choose one of the available drive letters and click “Next” again;
- Select “Do not format this volume” and click “Next”;
- Click “Finish”. The drive will then appear with a letter.
However, the new volume will appear as RAW, and the files that were on the SSD will still be inaccessible. If you need them, don’t create the volume: stop using the drive and turn to a professional data recovery service.
Method 2: Fix the unallocated SSD using Command Prompt
The DiskPart utility can also make an unallocated SSD usable again by creating a partition and formatting it as NTFS, exFAT or FAT32. Keep in mind that the clean command wipes the partition table and formatting creates a new, empty file system, so the data on the SSD will no longer be accessible. If you don’t have a backup and need the data, contact a professional recovery service before doing this. If you’re sure you don’t need the data, follow these steps:
- Open Command Prompt as administrator and type
diskpart; - Type
list diskand identify the unallocated SSD by its size. Then typeselect disk 1(replacing 1 with the SSD’s number) and press Enter. Be careful: Disk 0 is usually the system disk, and choosing the wrong disk will wipe it; - Type
cleanand press Enter; - Type
create partition primaryand press Enter; - Type
format fs=ntfs quick(orformat fs=exfat quick), press Enter, and then typeassignto give the drive a letter; - Wait for the process to finish, type
exitand check that the SSD now appears in File Explorer.
Read next
Conclusion
Unallocated space doesn’t belong to any partition, which means no data can be written to it, and an SSD whose space isn’t part of any partition is called unallocated. That’s why, when you install the operating system on a new computer, the drive has to be partitioned: after all, you can’t use a drive without a partition and a file system. To make use of unallocated space, you can also extend an existing partition. In some cases, an SSD that was working normally can suddenly show up as unallocated, making all your files and folders inaccessible. This can be caused by a virus or malware attack, a loose or faulty connection, a hardware failure or a damaged or worn-out drive. To make an unallocated SSD usable again, you can use DiskPart in Command Prompt or create a volume with a drive letter – but both methods leave your previous data inaccessible. If you need that data, a company that specializes in data recovery may be able to get it back. At Bot, with more than two decades of experience and a 96% success rate, our highly trained team analyzes your SSD safely and works to recover the data in a Class 100 (ISO 5) cleanroom, with a free standard diagnosis within 48 hours. What’s more, for your convenience, we offer free collection of your device (islands not included). If you have any questions, just contact us on our social networks. Start your recovery with us now!


