If your hard drive (HDD) is not detected by the BIOS, the cause may be a misconfiguration, connection issues (cables/ports), or a failure in the drive itself. This guide explains, in a practical and safe way, how to identify the most common causes and which tests to perform without worsening the fault.
The BIOS (Basic Input/Output System) is the firmware (internal software that controls the hardware) responsible for initializing computer components during startup, including the HDD. When the BIOS does not recognize the drive, follow the checks below in order. If you prefer expert support or need to protect important data, request a complimentary diagnosis before continuing with the tests.
What is the BIOS role in detecting the HDD?
The BIOS performs detection of essential hardware during boot (the system startup process). At this stage it identifies storage ports and devices (such as SATA ports), applies the controller operation mode settings (IDE/AHCI/RAID), and exposes the HDD to the system. Any inconsistency in configuration, power, or communication can prevent the HDD from appearing.
Common reasons why the HDD is not recognized in BIOS
- Drive or port disabled in BIOS: disabled SATA ports or incorrectly defined boot priorities.
- Misconfigured SATA controller or operation mode: incompatibilities between IDE/AHCI/RAID (modes that define how the BIOS communicates with the HDD) can prevent proper detection.
- Faulty data or power cable: poor contact, damaged cable, or a connector with bent pins.
- HDD with hardware or firmware failure: issues in the PCB (drive logic board), spindle motor, read/write heads, or firmware (internal software that controls the unit).
- Incorrect jumpers or legacy incompatibility: in older models, jumpers (small connectors used to define operation mode) can affect drive identification.
How to make the BIOS recognize the HDD — step by step
1) Make sure the HDD is enabled in the BIOS
When you power on the computer, enter BIOS setup (usually by pressing Del or F2) and confirm that the SATA port where your HDD is connected shows as Enabled. This ensures the BIOS recognizes the drive during startup.
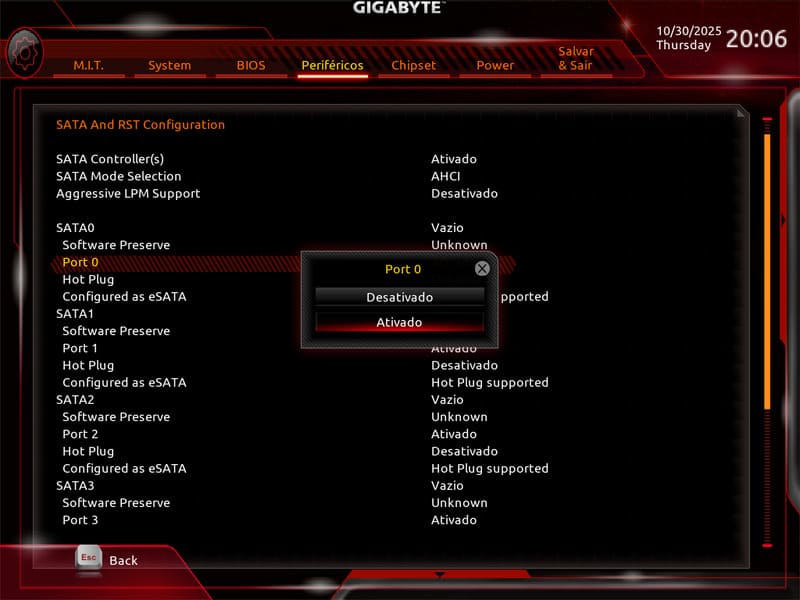
On some motherboards, SATA ports may be disabled by default. To fix this:
- Enter advanced BIOS mode (often via F7);
- Find the SATA ports and enable the port where your HDD is connected;
- Save changes (F10) and restart the computer.
2) Enable Compatibility Support Module (CSM)
If the drive is still invisible, enable the Compatibility Support Module (CSM). This mode allows systems and drives with traditional (Legacy BIOS) boot structures to be recognized correctly even on computers with UEFI.
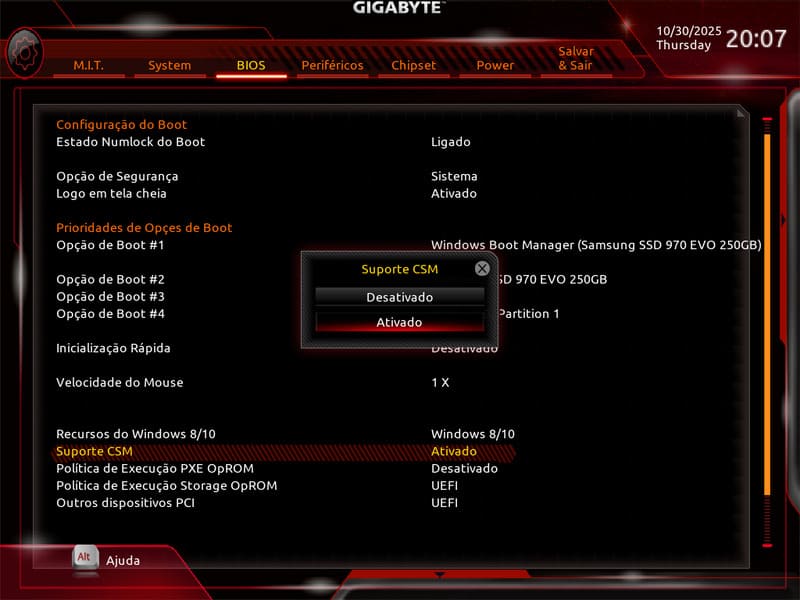
With CSM enabled, the BIOS recognizes devices that do not follow the UEFI standard, improving compatibility with older HDDs or drives formatted on legacy systems.
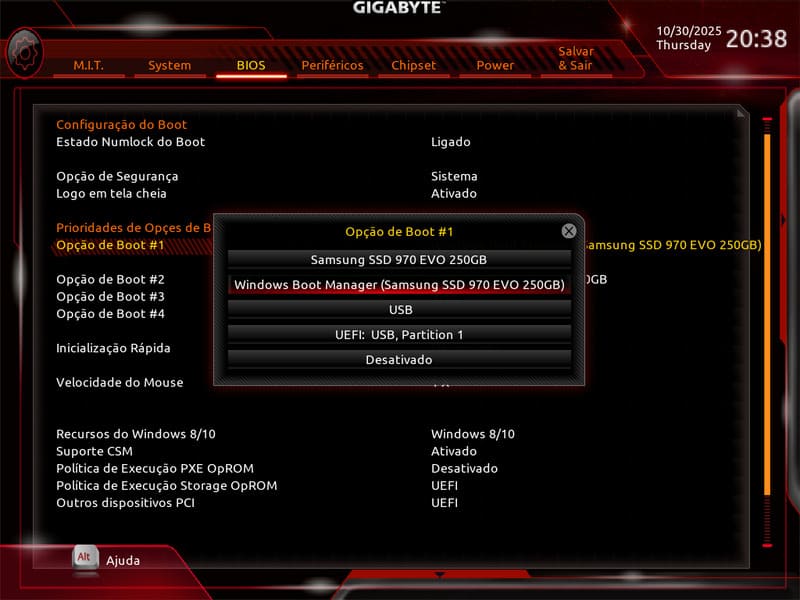
3) Adjust the boot priority
After enabling SATA ports and compatibility mode, check the boot order (boot priority). Ensure the desired HDD is listed and placed above secondary devices such as USB flash drives or DVDs. This guarantees the system attempts to start from the correct disk.
After confirming boot priority, save the changes (F10) and restart the system. If the HDD is still not recognized, proceed to the checks below.
Update the BIOS/UEFI firmware
Newer BIOS versions fix incompatibilities and improve device detection. Visit your motherboard or computer manufacturer’s website and follow only the official procedures. UEFI (Unified Extensible Firmware Interface) is the modern evolution of the traditional BIOS with support for new features.
Load BIOS default settings
Advanced memory settings, overclocking, or manual tweaks can cause instability. Loading “Load Setup Defaults” restores safe parameters.
- Enter setup and look for “Load Setup Defaults” or “Optimized Defaults”.
- Confirm (Yes) and save (F10).
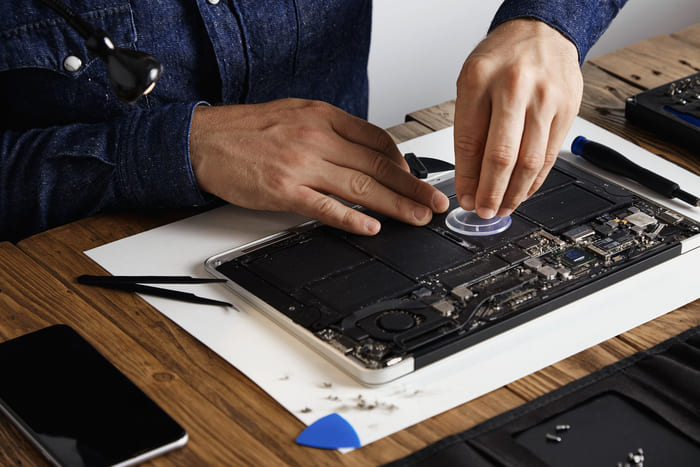
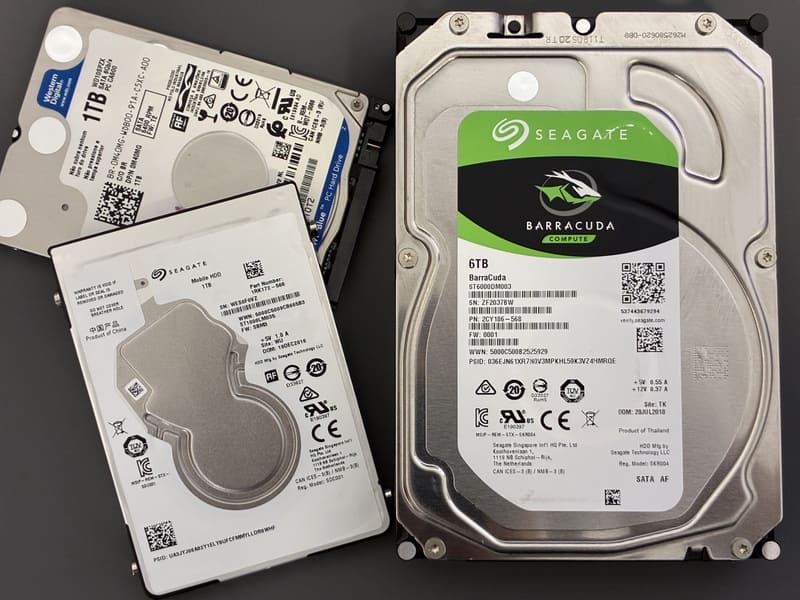
Reseat and reconnect the HDD properly
Shut the computer down, discharge static electricity from your body (touch a grounded metal surface), and reconnect the HDD data cable and power cable. Check for oxidation, dust, or damage on the PCB (logic board). If possible, test the HDD on another SATA port or on a different computer. If you suspect physical damage, see how to recover a physically damaged drive.
Replace the SATA cable or test another port
Poor contacts in cables are among the most common causes. Swap the cable for a known-good one and test a different port. Check for bent pins on the motherboard connector.
Use a bootable diagnostic tool
Bootable tools from the manufacturer check for bad sectors and critical errors. If the tool cannot find the HDD or reports severe faults, stop attempts to avoid making things worse and consider professional support.
Note: if the HDD spins but remains absent in BIOS, there may be a head, PCB, or microcode failure. Repeated power cycling can worsen damage.
What if the HDD is still not detected?
Risks of repeated tests without technical support
Repeated attempts can cause further degradation in units with mechanical or electronic problems. Never open the HDD. This compromises the internal environment and the platters (the magnetic surfaces where data is recorded).
When to seek professional help to recover data
If the HDD does not appear after the steps above, prioritize data integrity. An expert evaluation using proper tools and procedures reduces the risk of permanent loss. Learn more about our process.
Conclusion and next steps
Quick checklist to verify the drive
- Confirm the port/drive is enabled in BIOS.
- Check controller mode (IDE/AHCI/RAID) and update BIOS if a new version is available.
- Carefully reseat and replace the SATA cable, testing a different port.
- Run a bootable diagnostic from the manufacturer.
If the issue persists, proceed safely
When the HDD remains unrecognized even after all checks, it may indicate an internal failure. At this point, stop testing and seek a professional evaluation to preserve your data. You can request a complimentary diagnosis and get technical guidance before deciding next steps.
How Bot can help
If, even after all procedures, your drive remains inaccessible, don’t panic. Bot Recuperação de Dados specializes in recovering information from critical devices, including those that have already gone through failed formatting attempts or general tech support.
We operate our own labs, equipped with advanced technology and the exclusive WhiteRoom®, a controlled and safe environment for physical and logical interventions.
We offer a complimentary diagnosis within 24–48 hours and specialized support at every stage of the recovery. Secure, trackable shipping options from anywhere in the United States are available on request.
International trust, real results:
- 200,000+ cases handled successfully;
- 95% average satisfaction among our clients;
- Reference in HDDs, SSDs, RAIDs and physically damaged devices;
- Technical, human support with clear terms—no fine print.
We hope this content helped you understand why an HDD may not be detected in BIOS and the safe ways to restore access. If anything goes wrong, count on Bot.
This content was produced by the technical team at Bot Recuperação de Dados, a multinational leader in advanced data recovery solutions.
Additional technical reading: Seagate — BIOS does not detect or recognize ATA/SATA hard drive