Mac hard disks are usually partitioned into different sections, also known as logical volumes.
This allows you to store a wide variety of data separately.
The great advantage of the partition system is that there is no risk of overloading the boot disk volume – which allows this boot process to be completed smoothly.
However, there are times when volumes can become unmountable, preventing the system from starting.
This is a critical situation because your data stored on the hard disk becomes inaccessible, in addition to the risk of losing your data.
If a volume has become unmountable on your Mac, check out this article to find out what might have caused this situation and how to try to solve the problem.
What are unmountable volumes?
Volumes are the logical space in which data, system files and other information are stored on macOS.
When booting a Mac, all local file systems on a volume are mounted in the operating system.
In other words, a volume is mounted if macOS is able to read and write data to the disk.
Therefore, mounting is the process where the Mac operating system gathers information about the corresponding volume in order to gain access to the storage space, to read and write information.
Common scenarios for inaccessible volume
You should know the different reasons that cause the problem so that you can determine how to repair the external hard disk that becomes unmountable on the Mac.
The main ones are:
File system corruption (MFT)
The volume’s data becomes inaccessible to the system if there is corruption in the structure of the local file system.
Some of the reasons that contribute to file system corruption include incorrect formatting, reformatting or conversion of the file system.
Virus or malware infection
If the hard disk has a virus infection, this can cause the system files to become corrupted.
In other words, it can cause the hard disk to become unmountable.
Operating system malfunction
The hard disk volume may have become unmountable because the operating system has crashed or is not working properly.
How to restore data from an unmountable Mac hard disk
To restore your data from your Mac’s unmountable disk, you can do one of two things:
- Using data recovery software: as well as requiring technical knowledge and familiarity with the process, this method can worsen the situation, causing permanent data loss (if performed incorrectly).
- Using a professional data recovery service: this not only guarantees a better chance of recovering your data, but also eliminates the risk of damaging your device.
If you want to try using software to recover data from the unmountable disk, follow the steps below:
Step 1
Choose a data recovery software, install it and run it. In this list, you will find some of the best free data recovery tools.
Next, select the volume from which you want to recover the data.
Step 2
The tool will start scanning to assess the possibility of data recovery. The process may take a while, so wait until it is complete.
Step 3
After scanning, you will be able to see all the recoverable files located by the software. Select the ones you want to recover and start the recovery process.
Step 4
Specify a location to save the recovered files. It is recommended to save them on a different volume from where your lost files were stored before.
If the tool can’t solve the problem, you’ll have to turn to a data recovery company – such as Bot.
How do I repair my unmountable hard disk on Mac?
When faced with the problem of an unmountable hard disk volume, the first thought that comes to mind is to use Disk Utility to recover it.
There is a built-in feature in Disk Utility known as First Aid. It allows you to check for volume errors and try to repair them.
However, using First Aid is not a favorable method. Firstly, it often fails to repair the errors.
Secondly, it is likely to cause damage to the data, making it impossible to recover.
Method 1: Use Disk Utility
Disk Utility can repair specific drive problems. You can use it when your Mac volume shows the unmount error.
To run it:
- Open the Apple menu;
- Click on “Restart”;
- Press and hold the “Command + R” buttons;
- Keep pressing until you see the Apple symbol;
- Click on “Disk Utility” and then “Continue”;
- Select the “View” option and then “Show all devices”;
- In the sidebar, choose the volume you want to repair;
- Click on “First Aid”;
- Disk Utility” may tell you that the hard disk will probably fail again. So make sure you back up your data and save it to another drive;
- If Disk Utility does not give you this message, continue by clicking on “Run”;
- Disk Utility may inform you that the drive has been repaired;
- If Disk Utility does not display this message, you will have to format the unmountable hard disk before restoring it.
But if the word “Repaired” appears on the screen, you can use the drive without any problems.
Method 2: formatting
After repairing the volume, you need to format the drive that had the unmount error.
This will ensure that it works properly again (remembering that this also erases all the data stored on the volume).
To do this:
- Go to “Utilities” and open “Disk Utility”;
- Click on the icon showing your hard disk volume in the sidebar;
- Click on the “Erase” tab and fill in the necessary information;
- When the “Erase” button appears, click on it and formatting will begin.
Conclusion
Volumes are partitions that allow data to be stored separately, reducing the risk of overloading the boot volume.
However, in cases of file system corruption, operating system malfunction or virus infection, these volumes can become unmountable.
In these cases, to solve the problem, you can either resort to data recovery software (at the risk of further damaging your device and losing your files for good), or leave the recovery in the hands of a specialized company, which increases your chances of having your data recovered without damaging your device.
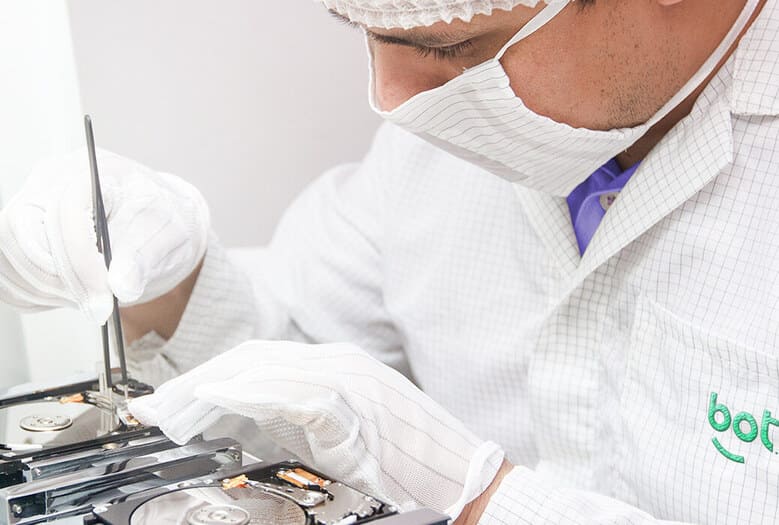
Here at Bot, for example, we are experienced in data recovery, with over a decade of tradition.
Our highly trained professionals recover data from devices in a particle-controlled environment, ensuring the preservation of your drive.
We are also available 24/7 on our social networks, where we can provide all the support you need and answer all your questions.
Trust those with over 100,000 solved cases: start your data recovery with us now!