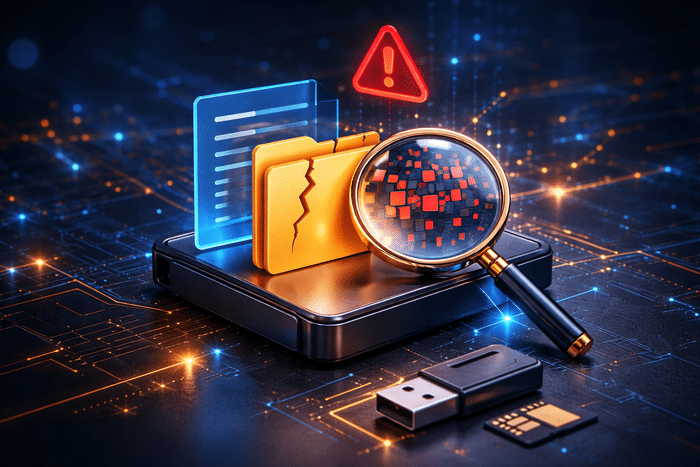
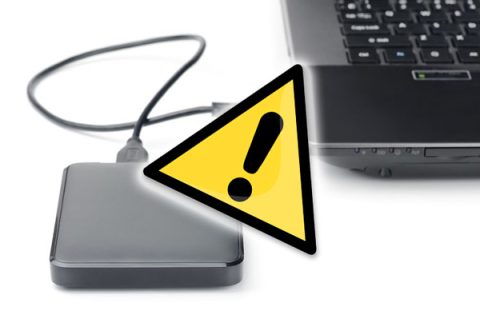
Hard disks – whether new or old, internal or external – can suddenly not be detected in File Explorer or Disk Manager.
But don’t panic – this is one of the most common problems Windows users encounter.
First, you need to understand why Windows doesn’t recognize your hard drive.
The problem can range from a minor inconvenience to a serious issue or even a malware infection.
Generally, if you can start your device, you won’t have much to worry about as your disk is still operational.
On the other hand, you could lose access to your files if Windows can’t boot from the problematic drives.
The good news is that we can show you some ways to solve the problem – and that’s what we will do in this article!
What causes the error: Hard disk not detected?
The undetected hard disk error is considered serious because the hard disk contains all the data needed for use by the user.
There are several reasons why the hard disk may not appear in Disk Manager. These include:
Your hard disk is corrupted
One possibility is that the hard disk’s logical file system has been corrupted.
If the drive’s boot sector, partition table or partition superblock are corrupted, the file system may stop working properly.
In these cases, the drive usually appears as if it is blank in the Windows file explorer.
This may cause Windows to ask you to create a new simple volume (which acts as a new partition), format the drive or change its letter when you connect it.
Hard disk failures in the logical file system can also display the “hard disk not detected” error message in the system BIOS.
O seu disco rígido está partido
Other potential culprits are the physical components of the hard disk.
Hard disk drives have extremely sensitive and complex parts, which work hard to keep the drive running.
Manufacturers design these parts to resist heavy use – and they can continue to do their jobs for years.
But the device’s parts wear out sooner or later – whether due to old age or factory defects.
And when a hard disk breaks, you are likely to see error messages in Windows.
Problem with cable/bad connection
One of the most unlikely culprits for an undetected hard disk error is a problem with the data cable or power cable that connects the drive to your computer (or even the power supply itself).
Most troubleshooting guides for any type of hard disk that doesn’t show a problem always suggest checking the power cable as a first step. But in reality, it is unlikely that the power cables are your problem.
It is possible, however, that your error is a false positive caused by a defective connection.
If the culprit is a problem with the cable, fixing the connection could solve your data loss situation and recover your important files – an easy solution to an initially frightening problem!
For your computer’s internal hard disk, these are the ATA/SATA cables that connect it to the motherboard.
As for an external flash drive hard disk that doesn’t show up, it is the USB/data cable, or possibly the SATA-USB bridge dongle connected to the drive.
Sometimes, tightening the hard disk connections or replacing the SATA/ATA power cable solves the problem, especially when you see that the internal hard disk doesn’t appear in the disk manager tool of the computer’s operating system.
To test this, open the PC case, locate the storage device and check the data cable.
How to fix “not detected” hard disk errors
Below, we have listed 6 alternatives you can use to fix the undetected hard disk error. Check them out:
1. Check your connection
This is usually the quickest solution. Connect your hard disk with a SATA cable instead of a USB cable, for a start.
Also, change the cable port to see if that makes a difference.
You can also connect your hard disk to another computer to see if it works or if the problem is local to your device.
This will let you know if the problem is with the hard disk, the computer or the cables.
2. Format the hard disk to NTFS
The hard disk not detected error can be caused by an unsupported, RAW or corrupted file system.
To solve the problem, you need to format the drive to a compatible file system.
Remember that formatting will erase all the data saved on your hard disk.
Follow the steps below to format your drive:
- Press “Windows + X” on your keyboard and click on “Disk Manager” in the list of options
- A window will open. Then right-click on the hard disk memory and select “Format”
- A dialog box will then open. Set the file system to NTFS, check “Perform a quick format” and click “OK” to start formatting.
3.Restore the data and create a new partition
There are several free softwares that can restore the partition on the disk – and one of them is EaseUs Data Recovery Wizard.
Follow the step-by-step instructions below to restore previous partitions that can help fix the undetected hard disk:
- Download, install and open the EaseUs Data Recovery Wizard
- Choose the hard disk to be restored
- Select which of the lost data located by the system you want to recover
- Click on recover and choose another location to save the data.
4.Change the hard disk letter
The drive letter can be another reason for the undetected hard disk error.
The reason behind this is that there may be another drive in the system with the same letter – whereby when two files have the same letter, the system gets confused about which file to open.
To change the hard disk letter:
- Right-click on “This PC”, select “Manage” and click on “Disk Manager”
- Now right-click on the unallocated space on your hard disk and select “New simple volume…”.
- A window will open. Click “Next” to continue.
- Set the size of the volume, assign a drive letter, set NTFS as the file system and click “Next”
- When Disk Manager shows that it has created the new volume, click “Finish”.
5. Update the hard disk driver
If your hard disk has a yellow exclamation mark in “Disk Manager”, in the “Disk Driver” section, it means that it is out of date.
This is what could be causing the hard disk not detected error, stopping the hard disk from appearing in “Windows File Manager” and “Disk Manager”.
Follow the steps below to update the drivers on your system:
- Right-click on “This PC” and then on “Manage”
- Select “Device Manager” and open “Disk drives”
- Identify and right-click on the problematic drive and select “Update driver”
- Click on “Automatically search for updated driver software”.
Finally, restart your PC after updating the driver and check that the disk has reappeared.
6. Start the disk, create a volume and activate the disk in the BIOS
To start the disk:
- Right-click on “This PC” and choose “Manage”
- Go to “Disk Manager” and right-click on your new hard disk. Choose the “Start disk” option
- In the dialog box, select the disk you want to start up, choose the MBR or GPT partition and click “OK” to start up
- Right-click on the unallocated space on your new disk and select “New simple volume”
- Set the volume size, choose a drive letter and mark the file system as NTFS for the new hard disk
- At the end of the process, click on “Finish”.
Activate the hard disk in the BIOS:
If the hard disk is disabled in the BIOS, the operating system will not be able to detect it, thus avoiding it from being displayed in Windows.
In this case, you need to check whether your hard disk is disabled in the BIOS:
- Restart the PC and press “F2” or “Del” until the BIOS screen appears.
- Use the arrow keys to select “Integrated Peripherals” and press “Enter”.
- Again, use the arrow keys to select “USB Controller”. If it is disabled, change it to “Enabled”
- Finally, save your changes and exit the BIOS.
Once this is done, you can restart your PC and check if the hard disk is already detected.
Bot can help
If you have come across the hard disk not detected error, this could be for a number of reasons.
These include a corrupted or broken hard disk or a faulty cable connection.
There are several solutions to this problem. You can check that the cables are properly connected and working, format the disk or restore the data and create a new partition.
Other alternatives are to change the disk letter, update the drive drivers or boot the hard disk, create a volume and activate it in the BIOS.
However, resorting to these solutions on your own – as well as being complicated – can lead to the loss of your data stored on the disk.
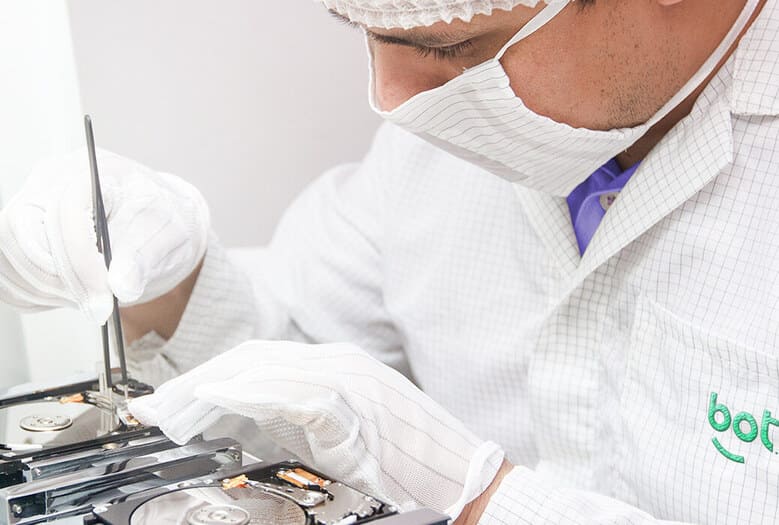
To avoid this situation, the ideal is to call on a specialized data recovery service, like the one we offer here at Bot.
With our highly qualified professionals, advanced recovery methodologies and Clean Room performance, we can recover the data from your drive, without compromising the functioning of your disk.
With over a decade of tradition in data recovery, Bot is present on social media 24 hours a day, 7 days a week, to answer any questions you may have.
Join our list of satisfied customers: start your recovery with us now.